How to dump your black and gray RV tanks
Dumping your gray and black water tanks is about the least glamorous job you’ll have while RVing. Part of the “luxury” of traveling with your home is having bathroom facilities right where you need them (with you). We’ll teach you how to dump your black or gray water tank. You will learn the setup order and how to manage the tanks while parked at a campsite. We’ll include product links below, but if you want the full shopping list, you can find it here. This article contains affiliate links.
Prepare with the gear you will need
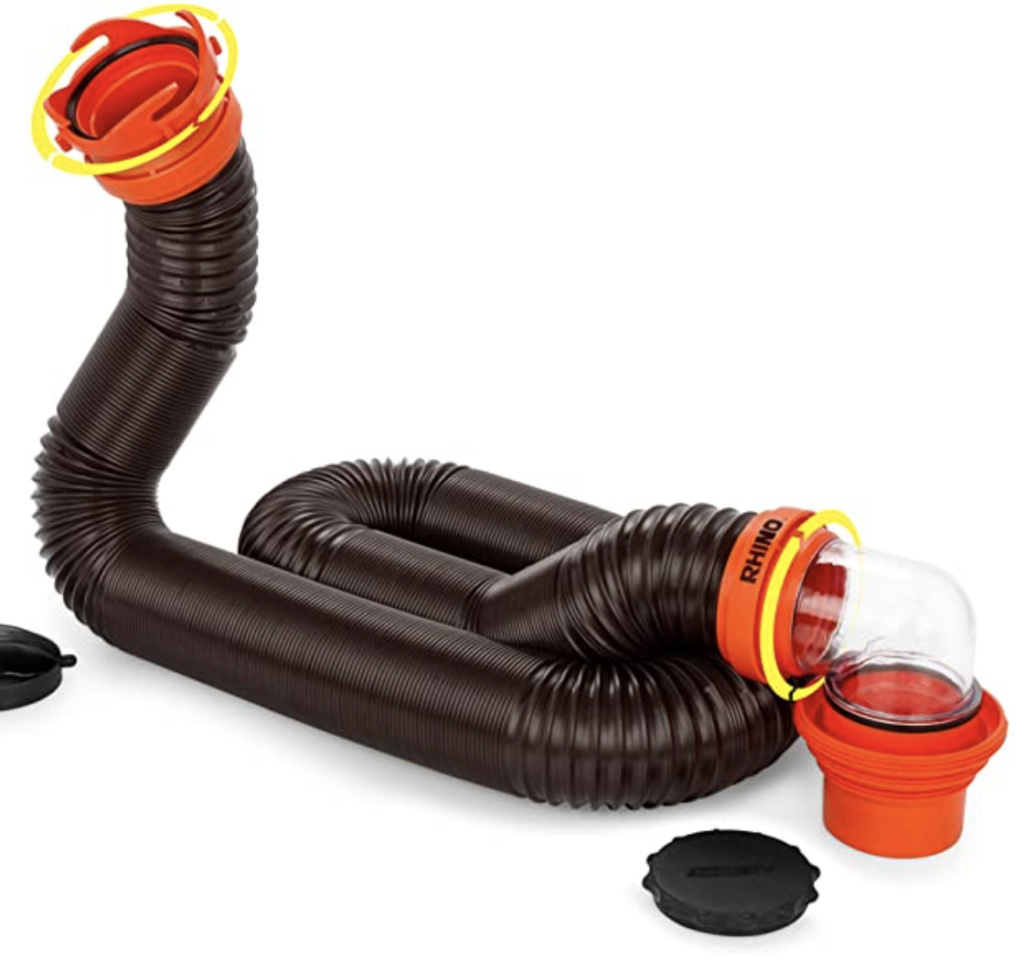
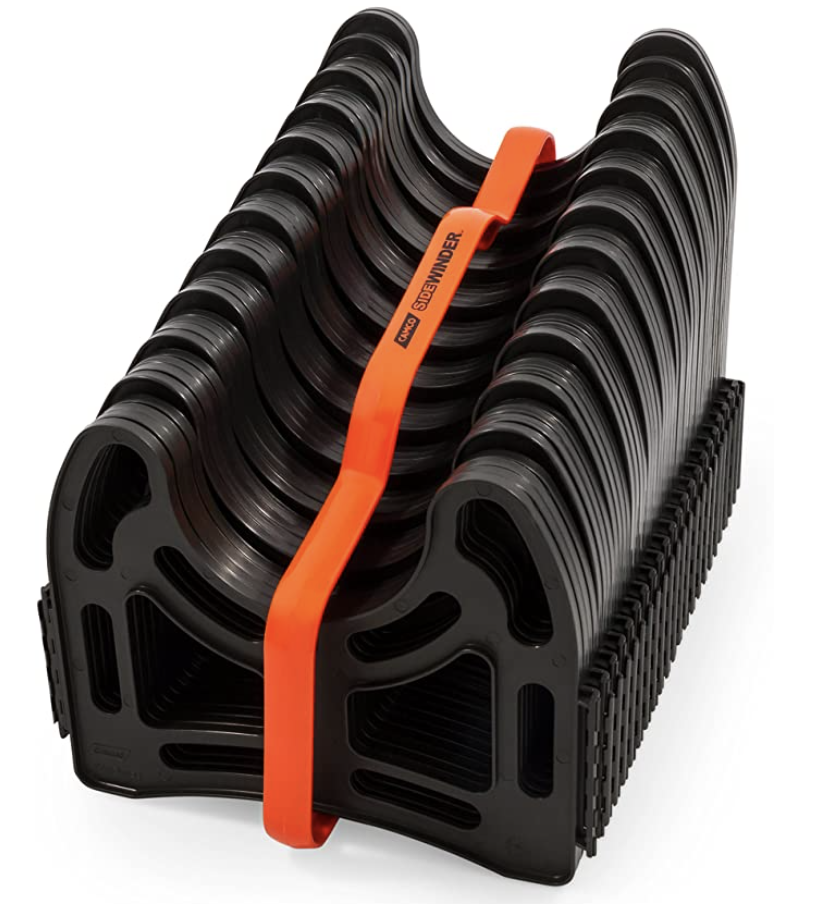
To dump your black or gray water tank, you’ll need an RV sewer hose (preferably with a clear elbow) and possibly a sewer bridge (required in many states and campground)
A sewer donut is not needed often, but when it is, you will be extremely happy with your less than $10 purchase. It can also be nice to have disposable gloves (we prefer the toughness of nitrile). If you have a black tank flush port we recommend using a hose specifically for flushing your black tank (some built in flush ports have back flow valves to prevent the chance of contamination, but we still opt for an isolated use hose). A strap wrench or other tools may be needed if you have a difficult time getting caps off.


Before starting a heated debate, we’d like to confirm that the process to dump your black or gray water tank can be completely sanitary without the use of disposable gloves. It can also be completely unsanitary with the use of gloves. Gloves are not a silver bullet. They make the cleanup process easier and can assist you in keeping the process sanitary. The importance of keeping the process sanitary is not often realized until you have failed to do so. Choosing to wear gloves is a matter of preference. We NEVER deal with sewer connections without gloves… even for something as simple as opening a valve by pulling a handle in our wet bay. We don’t even take out the parts without putting gloves on first.
Step 1
Put on your gloves!
Double check that all of your black and gray water tank drain valves are CLOSED!
Then take out your sewer hose, elbow, bridge, donut, and any other sewer tools needed. We have a box with dividers that we keep all the parts in.
Step 2
Get your sewer hose. Open the release cap on your RV sewer line and connect the sewer hose. Lay it flat toward the sewer tower (in the ground) to ensure it’s long enough and not twisted. If you need more length, get a second sewer hose and connect the two together.
When you know that your length is good, grab the elbow connector and thread it into the sewer tower. If you do not have a tight fit from the elbow into the ground hole, use your sewer donut to get a better fit. The donut is just a compression fitting between the sewer tower pipe and your elbow attachment. After the elbow is secured to the sewer tower, connect the end of the sewer hose to the elbow. It is common practice to use a rock or brick on top of the elbow if the connection to the sewer tower seems a bit loose.
Step 3
Set up your sewer bridge to support the hose. The hose should have a gentle slope leading into the sewer ground hole. Most states and campgrounds have a rules/laws requiring waste dump hoses to be elevated off the ground. You can use other items like logs, in a pinch. But, the most sanitary and standard option is to buy a sewer bridge.
We prefer to create a u-shaped dip in the hose to create an effect similar to a p-trap that is in household plumbing. This ensures that there is a liquid seal inside the hose so the sewer gas doesn’t flow back up the hose and into the RV. Even though your tanks should be vented through to the roof, we prefer to not rely on that alone and would hate to have the smell seep inside.
Step 4
Once you are hooked up, test your connection and hose by using your GRAY water.
To do so, SLOWLY pull the gray water valve lever and monitor the sewer hose connections to ensure there are no leaks or gaps in your set up.
Continue SLOWLY opening the gray water valve until it is completely open. Let the water flow for about ten seconds to allow you time to fully assess the connections and hose for possible leaks.
Close the gray water valve, as you’ll want to save the rest to dump after you’ve emptied your black tank. Dumping your gray water tank after your black water tank is a great way to clean out the hose. You don’t want any surprises left behind from dumping the black tank. Dumping the gray after the black will flush more liquid through the hose.
If you had leaks address them now. Then move on to the next step. This step is not mandatory, but it is far better to find out you have problems with your connection when its only sink or shower water than to find out with toilet water.
Step 5
When you’re confident you have a good connection, dump your tank by opening your black water valve lever all the way. Let it drain completely. Don’t disappear right away. You should inspect the hose and connections again, to make sure all looks well.
As gross as it seems at first, this is where having a clear connection point in your hose system is beneficial. We prefer it at the elbow that enters the sewer tower. Monitoring the exit of your hose seems more beneficial then monitoring the entrance to your hose.
Over time you will learn what normal looks like. The clear elbow allows you to monitor the flow rate, detect a possible clog, and know when the tank is done draining. On top of all that, it is essential for knowing that you have flushed your black tank long enough to have clear water running through.
Step 6
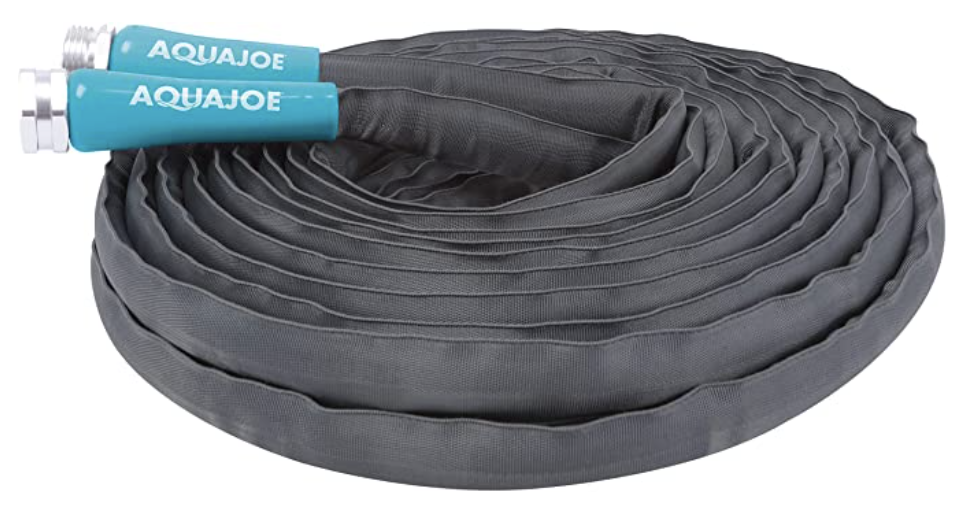
With the black water tank valve still open, get your designated “black water flush hose” out and connect it to the black tank flush. Flush water through until the dumped water is running clear (or pretty close). We often close your black lever to let it fill up more, then dump it. You can keep it open with it flushing right into the sewer hole. Continue to flush until water runs clear.
If you do not have a black water flush system, you can fill and flush your toilet many times to achieve a similar goal. You may find it faster or easier to fill the toilet bowl by using the shower head. If using this method, you may find the best results by closing the black tank valve prior to flushing all this water down the toilet. The reason is that small amounts of water flushed over and over will not have the same effect as filling the black tank half way with water and then letting it all flush at once, with power.
Either way you choose to flush the tank… at the end let it fully drain. This sometimes means walking away for 15 minutes. If you go do something else, remember to wash up and reapply gloves when you return.
Step 7
Once your black tank is empty and flushed, you can flush the remainder of your gray tank(s). To do so, open the gray water tank valve(s) and keep open until nothing more comes out.
Once we have completely drained and flushed our black tank, we maintain our black tank with a modified “geo method”. You can find the whole article here, but simply speaking, we add the following down our toilet:
- 3 Capfuls of Calgon water softener
- 3 Capfuls (the Calgon cap) of Dawn Dish Soap (standard blue)
- 1 Scoop of Happy Campers
- 3 Gallons of water
If you are sticking around the campground for a while longer, can you keep your gray or black valves open?
This is a common question. When we first started out, we kept all lines closed and dumped when gray or black tanks were full. However, after a while we realized that we were punishing ourselves with “navy showers” and instead we could open our gray valves so we could take a longer shower, run laundry, or do dishes without worrying about filling up the gray tank.
Once we hook up our sewer hoses, we typically open the gray valves (or a minimum of the gray tank from the bathroom/shower since we have a separate gray valve that holds the kitchen gray water) but we ALWAYS keep the black tank valve closed unless we are actively dumping the tank. When we leave our gray tanks open, we are extra cautious to prevent sewer gas back flow. To ensure this, we create a p-trap effect in the hose (as mentioned above, in step 3).
When we notice our black tank filling up, we close both gray valves so we can accumulate gray water, which helps flush the rest of the black tank stuff through the sewer hose. We typically close our gray tanks the day before dumping the black tank, or take long showers to help fill the gray tanks if we plan to dump the black tanks more urgently.
Some additional tips and considerations:
- If you plan to keep your gray valve open, you should make a u-shaped dip in your sewer line so you do not get gasses and odors coming back through the line and into your RV. It essentially serves as an additional p-trap. (mentioned in step 3)
- If you plan to keep your gray valve open, you should check your sewer connection periodically, just to be sure you don’t see any leaks or changes in your set up.
- We leave our sewer hoses connected all week when we are at a campground, dumping when we need to, but never needing to reconnect everything just for a single use. This avoids setting up and tearing down the sewer more than once. Each time you use the hose to dump a tank, you should do a little test of the gray tank flow and monitor for possible leaks (since it may have been sitting for days or run into by a person or animal). Don’t find a leak the hard way.
- As mentioned above, we always use gloves when handling anything related to the sewer, even if it’s just to pull a valve. We don’t reuse gloves.
- We don’t touch any non-sewer related items while wearing the gloves. If we need to touch non-sewer items, we dispose of the gloves and put a fresh pair on prior to going back to sewer items. This is also why we often have both of us present. One person with gloves and the other without. That way it is easier to avoid cross contamination and silly mistakes.
- Gloves don’t replace hand washing. We dispose of our gloves and wash up thoroughly every time.