Shopping List: Sewer (Black Tank)
Managing your black tank is possibly the worst part of RVing (or worst perceived part), but if done right, it doesn’t have to be that bad. You do need some equipment and hoses, but once you have the right supplies and get a little practice, it’s not hat difficult or dirty. Read more about how to keep the black tank from smelling up the RV with one of our earlier articles. The gray tank generally uses the same hookups, you just open a different valve.
Here’s what you’ll want to buy to hook up and manage your RV black tank (Article contains affiliate links):
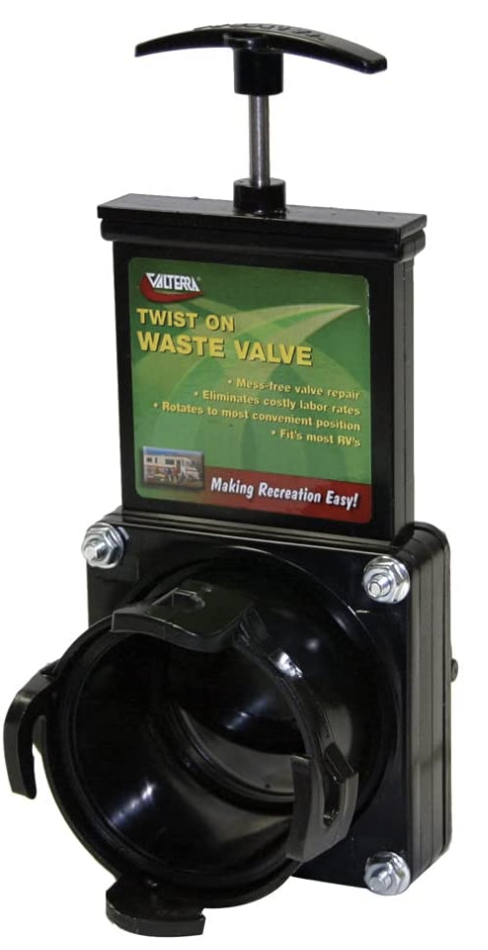
If there’s one product we can recommend above anything else, it’s this extra valve to put on the outside of your black tank opening. This is particularly important if you have your pull levers further away from the tank valves, if you have an older rig, or perhaps if you have more than one person helping with the tanks. Having this extra valve protects you if there is any black water gunk that didn’t get trapped by your black water valve. This will prevent anything from leaking or coming out unexpectedly.
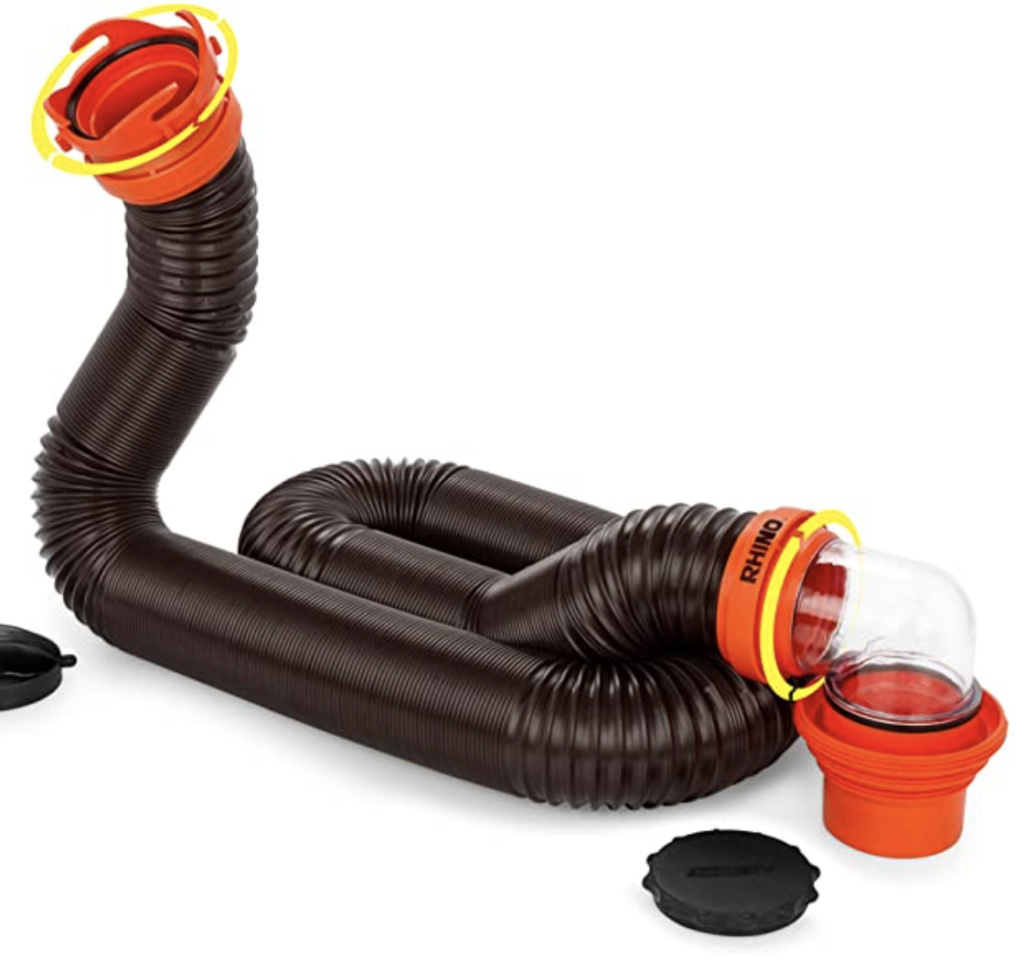
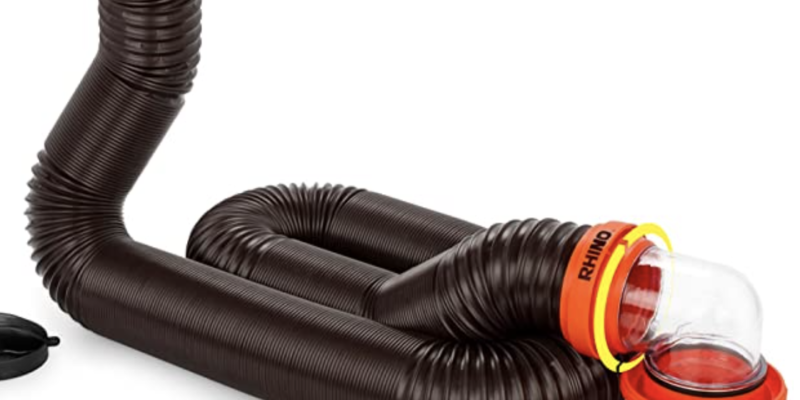
You will need a sewer host to drain your black and gray water tanks. We have three of these 15′ long hoses, and quite often we have to use 2 of them to reach the sewer hookup at our site. We have a third as a backup, which we have needed once, as one of our hoses did get a pin-hole leak in it. This one comes with a clear elbow, which is helpful to see what’s coming out (sorry, it can be gross), but also to know if you’re running clear after flushing the black tank.
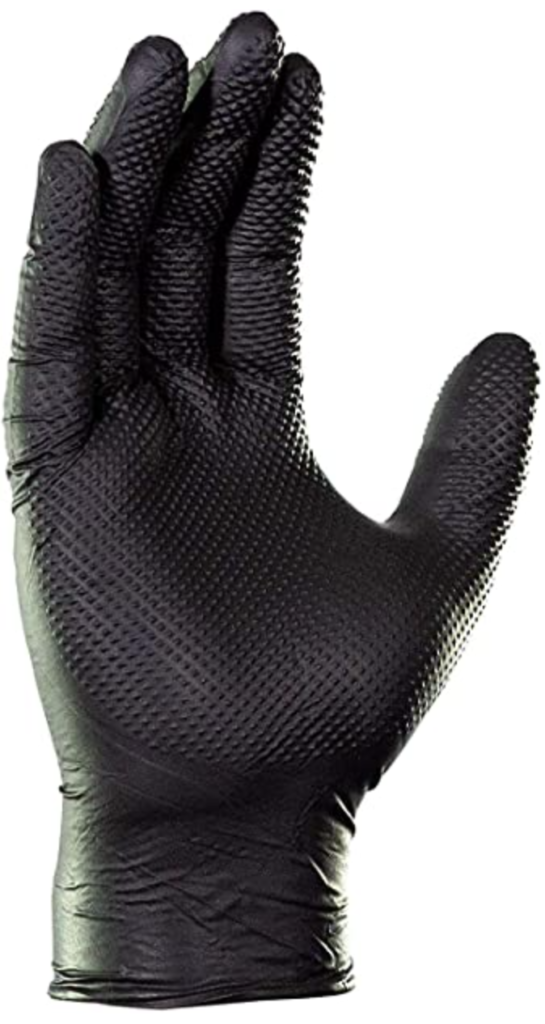
We have tried many types of gloves, but these work well, as they have a little grip to the glove which helps as the junctions can be tough to grasp. We keep a box right by the outside panel and put one on every time we have to move a hose, pull a lever, or do any work with the sewer hose or accessories.
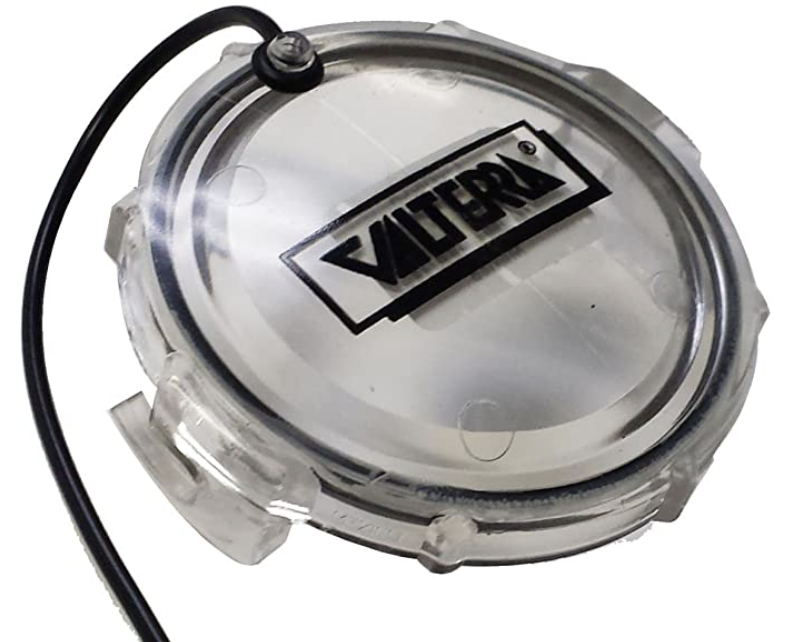
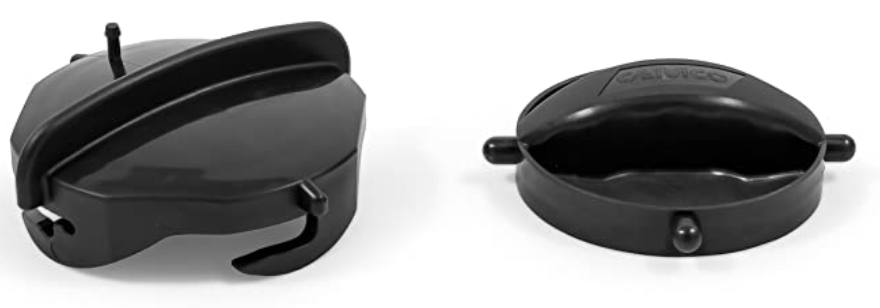
We replaced our black sewer caps with these clear caps, so we would know if anything was waiting for us before opening the cap. If you have the extra valve recommended above, this is probably a little less important, but it’s still worth considering.
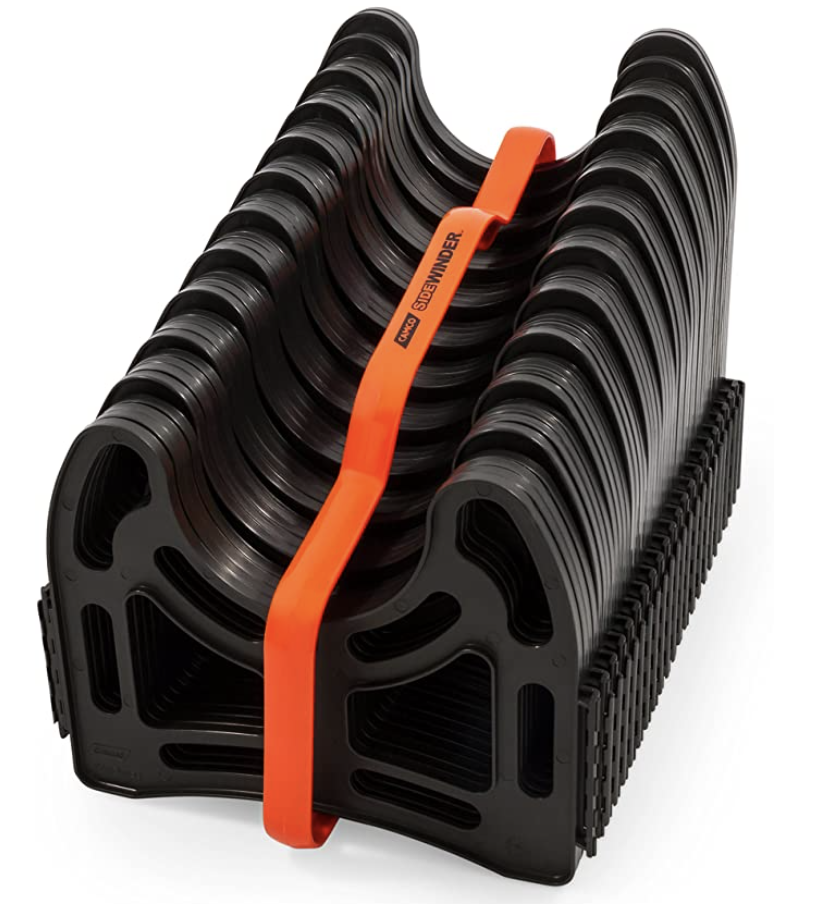
We use this “bridge” to hold the sewer hose and shape it from the exit point at the RV to the sewer hookup at the site. Many states and sites require something like this as they do not want sewer hoses laying on the ground.
We picked up extra caps so we could seal them before storing them between uses. You put one on the end of the hose, and one on the end of the elbow connector.
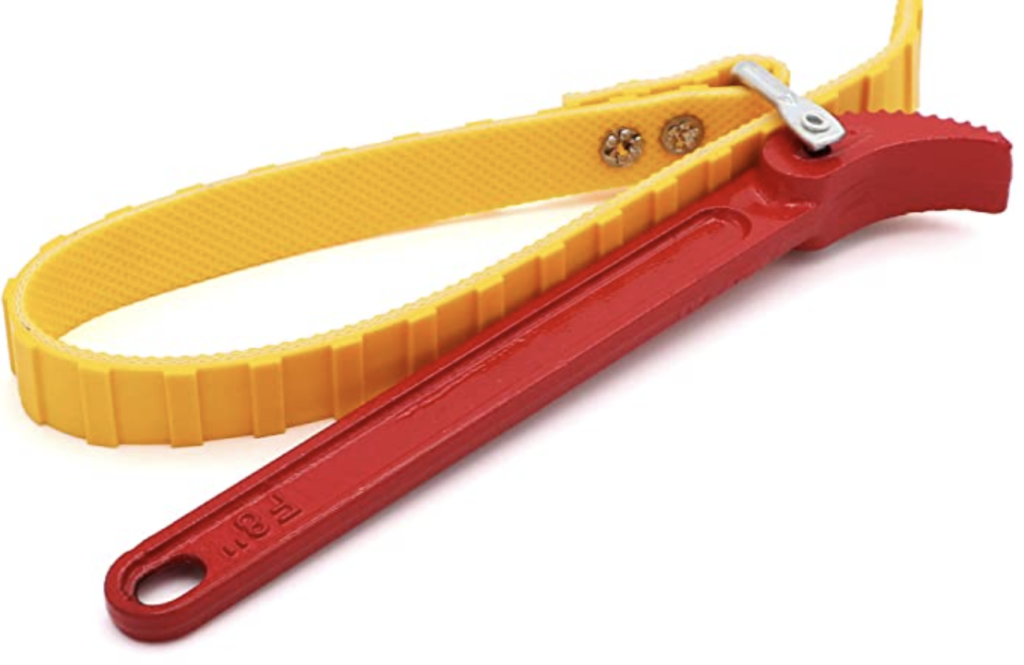
This strap wrench became a life saver for me (Erin), as I didn’t have the grip strength to twist the valve caps. I don’t know if it was the weather we were in or what, but I found it difficult to remove the cap or sometimes remove the hose, so I would use this strap wrench. They sell sewer wrenches but I didn’t get enough leverage with them, which is why we bought the strap wrench.
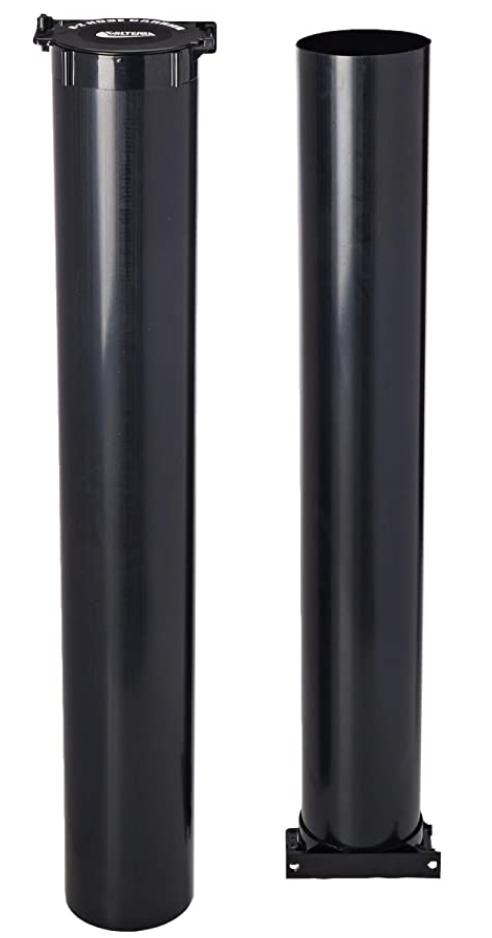
One of the first modifications we made to our new RV was to add 2 of these sewer holders to the bottom of the RV. The dealership said sewer hoses would fit in the bumper. While it can fit the smaller (more flimsy) hoses, it’s just a little too narrow high quality (rugged) hoses. These mounted easily and have worked very well for our needs.
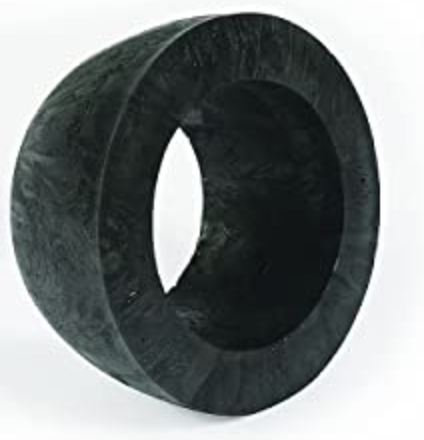
We got this Sewer Hose Donut adapter because some campgrounds are strange and the standard multi-size adapter will NOT work. When this happens, the donut is the go-to lifesaver to create a good seal… seldom used but better to be prepared.
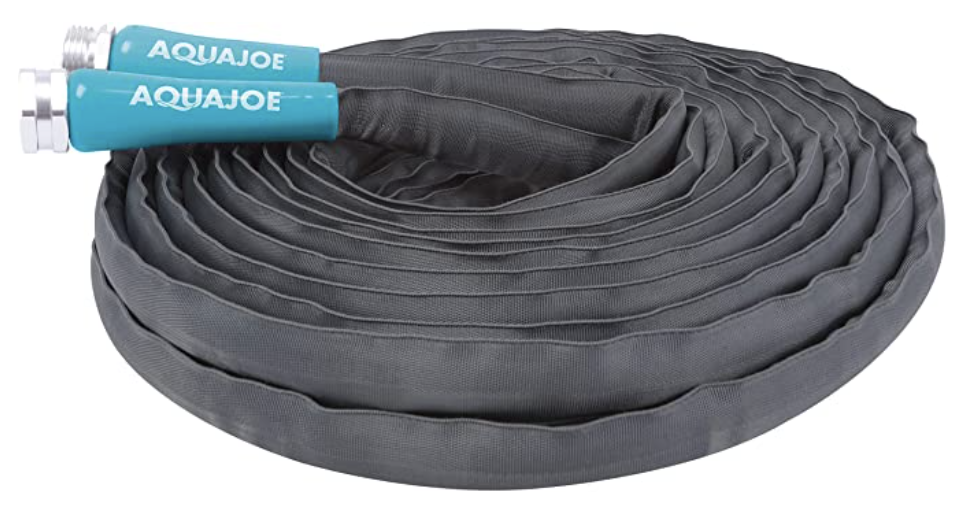
You should have a dedicated hose just for flushing your black water tank. We use this collapsable water hose because it’s more light-weight and takes up less space than a standard hose. It doesn’t kink and stores nicely in our storage area.
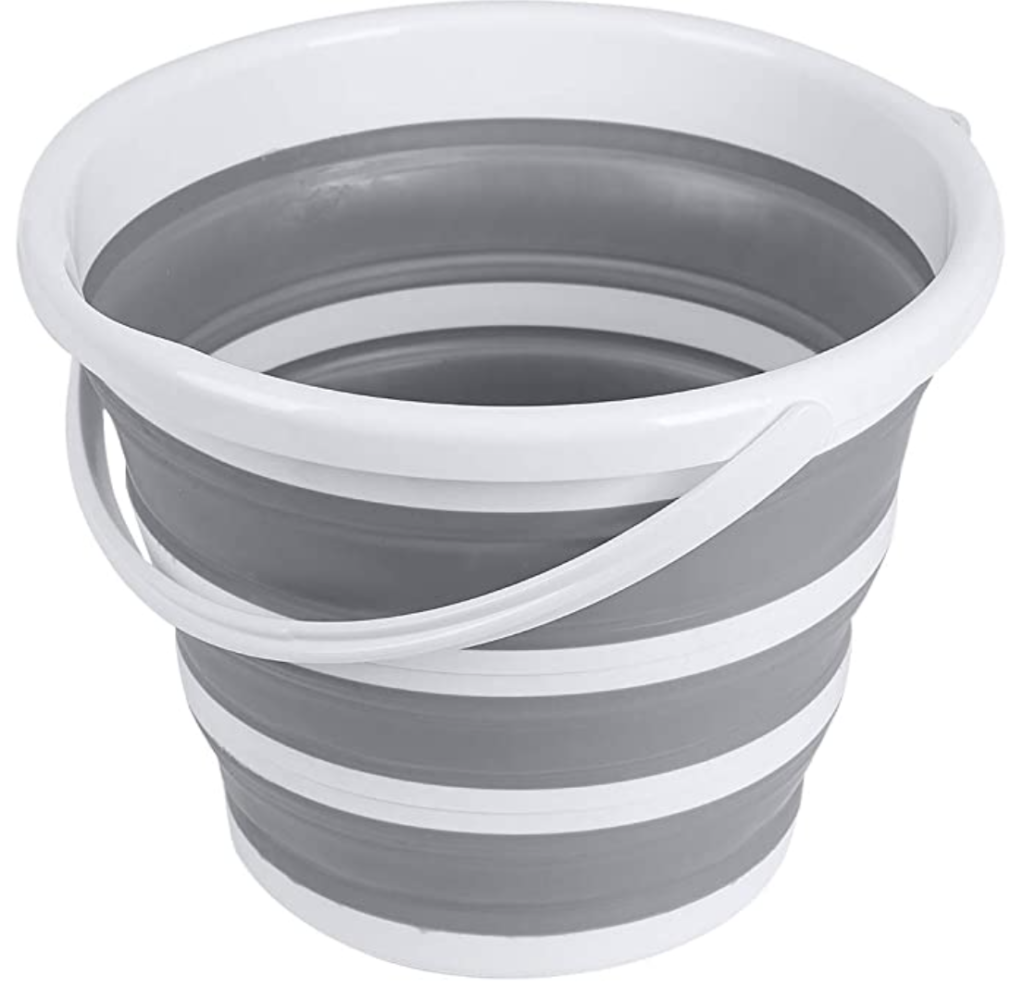
We got this bucket (collapsable) to help flush water down the toilet or any other assortment of jobs. It doesn’t take up much space and is easy to fill and use.
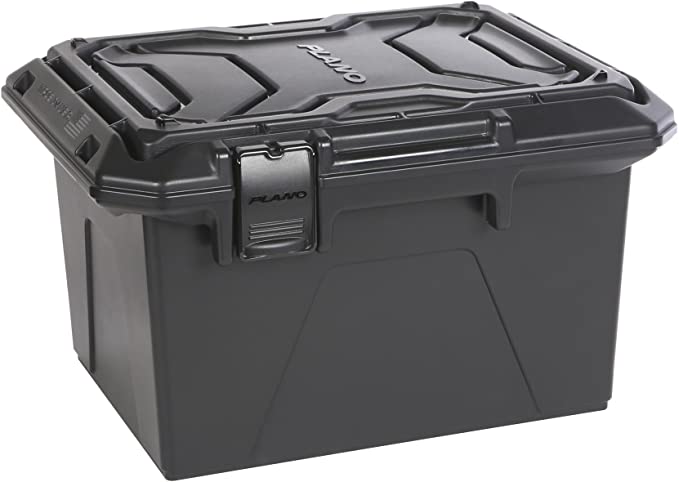
We picked up a box to store miscellaneous sewer parts. Since we use sewer hose tubes, we needed a box for random parts to stay separate from other items. Some people just used a big plastic storage box (that you can find for around $10 at your local big box store). These boxes are large enough to fit their hoses and other parts, all in one place, but they take up a lot of space.
As an Amazon Associate, we earn from qualifying purchases. Many (but not all) of the links on embarkrv.com are affiliate links. This means that we may make a small commission on the sale of an item if you purchase through one of these links. The price of the item is the same for you whether it is an affiliate link or not, and using affiliate links helps us to maintain this website and bring you other great content. We have not been paid for our review of products. What we are recommending is based on our use and experiences while RVing.